The Obsidian app is a powerful note-taking and knowledge management tool, and integrating AI into it can enhance productivity. The BMO Chatbot powered by Ollama LLM brings AI-driven assistance directly into your workflow, enabling tasks such as content summarization, idea generation, and automated writing assistance. This guide provides a step-by-step approach to setting up the BMO Chatbot with Ollama in Obsidian.
Step 1: Install Obsidian and Set Up Your Vault
Before integrating AI, ensure you have Obsidian installed and properly configured.
- Download Obsidian: Visit the official Obsidian website and install the app on your device.
- Create or Open a Vault:
- Launch Obsidian and create a new vault, or open an existing one where you want to use the chatbot.
Step 2: Install the BMO Chatbot Plugin
To integrate the chatbot, install the BMO Chatbot plugin within Obsidian:
- Open Obsidian Settings: Click on ‘Settings’ (gear icon) in the bottom-left corner.
- Navigate to Community Plugins:
- Click on ‘Community Plugins.’
- Toggle Safe Mode OFF to enable third-party plugin installation.
- Search for BMO Chatbot:
- Click ‘Browse’ and type ‘BMO Chatbot’ in the search bar.
- Select the plugin and click ‘Install.’
- Enable the Plugin: After installation, click ‘Enable’ to activate the chatbot in Obsidian.
Step 3: Install and Configure Ollama
Ollama serves as the AI language model that powers the BMO Chatbot. Here’s how to set it up:
- Download Ollama:
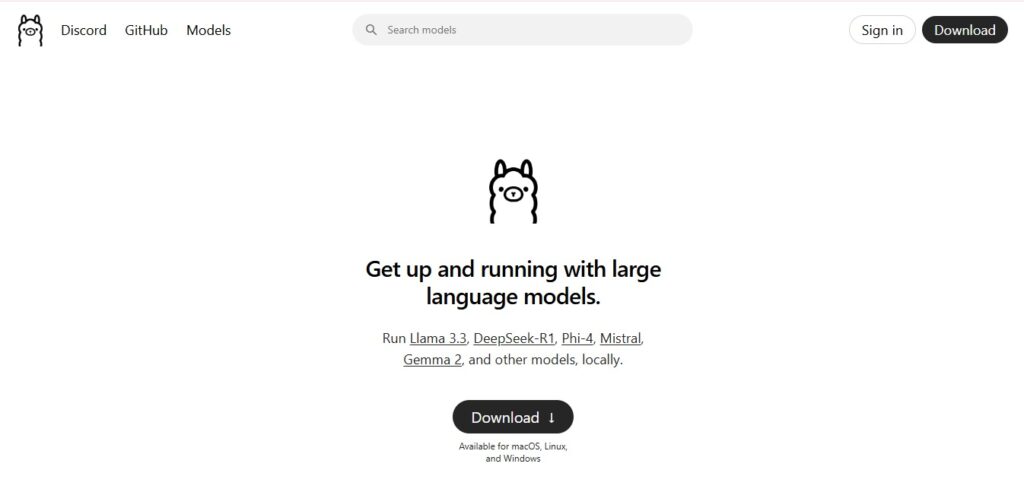
- Visit Ollama’s website and download the appropriate version for your operating system.
- Install Ollama:
- Follow the installation instructions for your OS (Windows, macOS, or Linux).
- Run Ollama’s API Server:
- Open your terminal or command prompt and start the server by entering:
ollama serve - The API server should now be running at
http://localhost:11434.
- Open your terminal or command prompt and start the server by entering:
Step 4: Configure BMO Chatbot to Connect with Ollama
Now, link the chatbot to the Ollama server:
- Open BMO Chatbot Settings:
- In Obsidian, go to Settings > BMO Chatbot.
- Configure Ollama Connection:
- Locate the ‘Ollama Connection’ section.
- Enter the following in the OLLAMA REST API URL field:
http://localhost:11434
- Handle CORS Issues (If Required):
- If you encounter CORS errors, start the Ollama server with:
OLLAMA_ORIGINS="app://obsidian.md" ollama serve - This allows Obsidian to communicate with Ollama.
- If you encounter CORS errors, start the Ollama server with:
- Reload Models:
- In BMO Chatbot’s settings, click the reload button next to the model dropdown to refresh available models.
Step 5: Start Using BMO Chatbot in Obsidian
After setup, you can now use the chatbot:
- Open the Chatbot Panel:
- Click on the chatbot icon in Obsidian’s left sidebar.
- Start Chatting:
- Type a message or command and let the AI assist you with your queries.
Example Commands:
/model gpt-4: Switches to the GPT-4 model./prompt summarize: Summarizes the given text./save: Saves the current chat history into a note./clear: Clears the chat window.
Additional Tips and Features
Managing AI Models in Ollama
Ollama allows downloading and managing various language models. Use this command to add a new model:
ollama pull [model-name]Replace [model-name] with the AI model you want to use.
Optimizing BMO Chatbot Usage
- Adjust temperature settings to control AI response randomness.
- Use predefined prompt templates for common tasks.
- Save and retrieve chat history for later reference.
Conclusion
By following these steps, you can integrate the BMO Chatbot with Ollama into Obsidian, creating an AI-powered knowledge management system. This setup enhances note-taking, boosts productivity, and provides intelligent assistance tailored to your workflow. Whether summarizing articles, generating ideas, or automating tasks, this AI integration is a powerful addition to your Obsidian workspace.


